This is my first tutorial ever written here at red-team-design.com catalin.red. So, for my first tutorial, I decided to show you how to create a cool wallpaper with a neon glow effect in just a couple of steps using Adobe Photoshop and a little patience.

1.Create a new Photoshop file
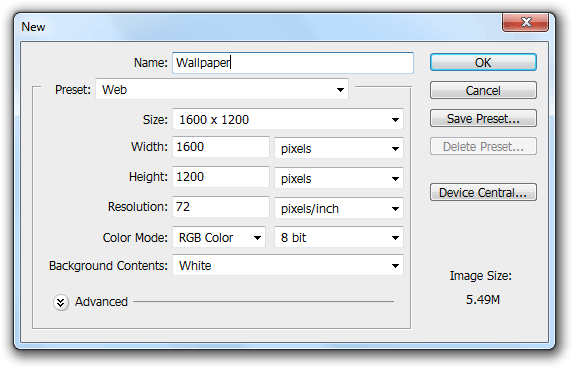
But let’s start with the first things first. The first thing you must do before being able to create your wallpaper is to create a new Photoshop file (you can use CTRL/CMD+N shortcut) and give it a name:
2.Layer From Background
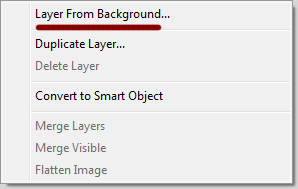
After you will do that, by using right-click on the background layer from the layers palette, choose Layer From Background to unlock it.
3.Add a radial gradient
Now we’ve done this step just fill the layer with a radial gradient using these colors:
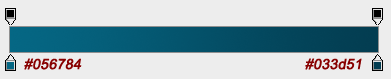
Please note that you are free to use any colors you like, but using these ones you will achieve the same result as mine. So now you should have something like this:

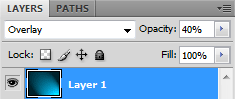
For the next step create a new layer from the layers palette and fill it with #00b6eb, then(with this layer selected) go to Filter->Render and select Lighting Effects. Here you can leave the default settings like I did or you can play with settings until you achieve something interesting. Set the layer blending to Overlay and reduce its opacity to 40%.

4.Create the first shape with the Pen Tool
Now it’s the part where we add our layers that define the wallpaper. Using the pen tool from the left toolbox start creating a shape like the one below:
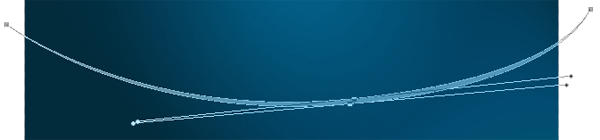
If you are encountering any problems with creating this shape you can always check out this great Pen Tool Photoshop tutorial.
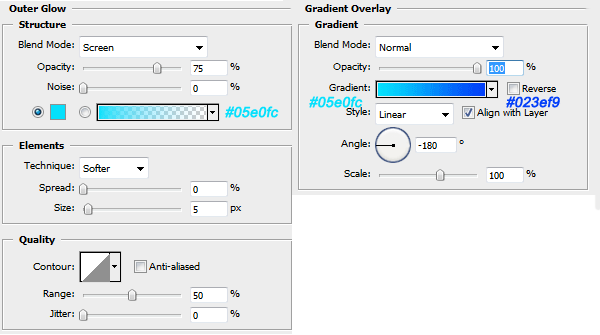
5. Blending options linear gradient and outer glow
Now that we have this layer we can edit its Blending Options by adding a linear gradient from left to right (-180 degrees angle) and an outer glow:
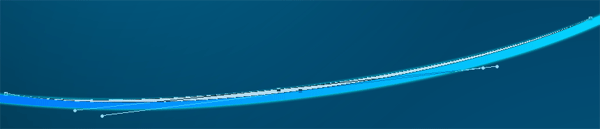
6. Add a neon glow effect in Photoshop
At this point, using the Pen Tool we’ll make a neon-glossy effect by adding one more layers filled with white #ffffff color and 75% opacity:
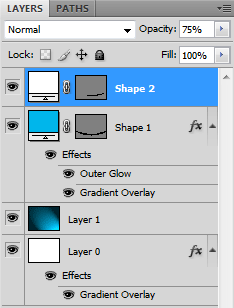
If you’ve done all steps your Layers Palette should look like this now:
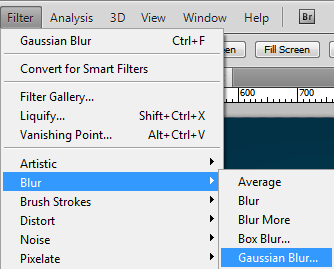
7. Add a gaussian blur
Duplicate the blue shape layer and now that we have twp of a kind select the one under and right-click on it to Clear Layer Style. Now that we have no blending style applied, select Filer->Blur->Gaussian Blur to have something like this:

8. Use Stroke Path to create lines
The next step is adding a nice glowing effect using Pen Tool again and Stroke Path this time. First, the default settings for Pen Tool is to create shapes, this time we will use it to create a path, so you have to select Paths as shown below:

Create a new layer, click on the spot where you want to start the path. Then, in order to create a wavy path, click and drag for the next anchor point:
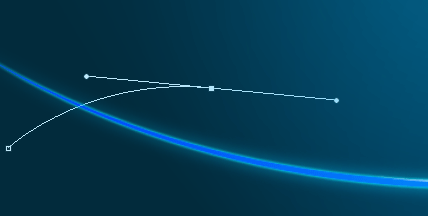
Continue doing this until your path will look like this:

9. Brush settings
Select the Brush Tool from the left toolbox and then open the Brush Panel to modify some settings for our brush:
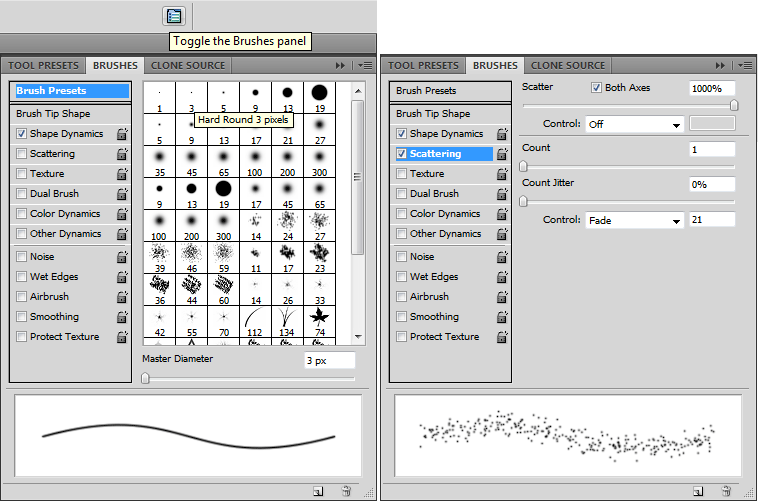
Now you’ve done all this choose #3aceff color as foreground color and assure you have made the right settings in the Brush Panel: Shape Dynamics and Scattering-these are very important for this step.
Select the Pen Tool, right-click on the path you made, Stroke Path and check Simulate Pressure box. The result should look like this:

You can now repeat the steps and add extra layers and effects. For this tutorial I continued to add a green stripe and a white one:

For the final touch, you can add some stars using the custom shape tool. Use a soft rounded 1500px brush to add some green neon color to the background.
10. Download the wallpaper

This is the final result, I hope you like it! Feel free to download it and good luck with learning new things.