The :target pseudo-class is one of those amazing CSS3 features. It matches an element that’s the target of a identifier in the document’s URI.
This identifier in a URI contains a “#” character followed by an identifier name that matches the value of an id attribute of an element within the document.

Support
Because we’re talking about CSS3, it’s supported by all modern browsers excluding IE, from 6 to 8. Disappointing as usual, but this fact shouldn’t stop you using it. However, IE9 supports the :target pseudo-class.
How can you use :target?
This pseudo-class can be styled, just like we use to style the :hover, :active or :focus pseudo-classes on links. Much like the previous ones, :target is used during certain interactions with the website. Specifically, when applied to a fragment identifier as in this example: http://example.com/index.html#lorem-ipsum.
Demonstration
Further, I am going to make an example of when and how to use :target. The purpose of the next demo is to show you that using :target can improve your website usability.
The HTML markup
Below you have a list of 4 links and also the same amount of blocks. You may notice that each “group” has an unique id as an identifier.
<ul>
<li><a href="#id1">Block 1</a></li>
<li><a href="#id2">Block 2</a></li>
<li><a href="#id3">Block 3</a></li>
<li><a href="#id4">Block 4</a></li>
</ul>
<div id="id1">
<p>Lorem ipsum dolor sit amet, consectetur adipiscing elit. Donec tempus, felis at varius eleifend, neque orci porta magna, consequat aliquam ligula velit quis erat. Aenean porttitor pellentesque risus, eu tincidunt ipsum blandit in. </p>
</div>
<div id="id2">
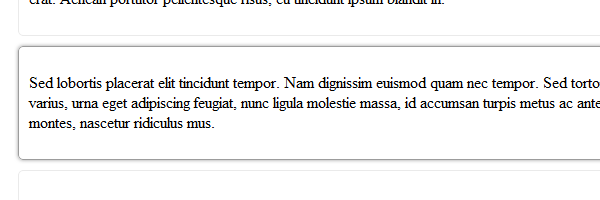
<p>Sed lobortis placerat elit tincidunt tempor. Nam dignissim euismod quam nec tempor. Sed tortor lorem, ultricies a auctor nec, auctor ut neque. Aenean varius, urna eget adipiscing feugiat, nunc ligula molestie massa, id accumsan turpis metus ac ante. Cum sociis natoque penatibus et magnis dis parturient montes, nascetur ridiculus mus.</p>
</div>
<div id="id3">
<p>Pellentesque quis tortor vitae elit cursus vulputate et vel dui. Nunc commodo pretium arcu in ultricies. Nunc vel velit enim, et tincidunt leo. Class aptent taciti sociosqu ad litora torquent per conubia nostra, per inceptos himenaeos. </p>
</div>
<div id="id4">
<p>Quisque eget tempor sapien. Cras convallis tempor orci pulvinar scelerisque. Nullam et erat eu nibh sollicitudin congue sit amet id diam. Sed in lectus ut augue euismod porta. Quisque non lacus odio. Nunc ornare adipiscing egestas. </p>
</div>The CSS
The following rows will style the content to get the desired effect, which is to show the current identifier - in this case a drop shadow made with CSS will surround the box).
/* Add some spacing */
ul, div {
    margin-bottom: 10px;
}

/* Default block styles */
div {
    padding: 10px;
    border: 1px solid #eaeaea;
    border-radius: 5px;
}

/* Change its appearance when it's matched */
div:target {
    border-color: #9c9c9c;
    box-shadow: 0 0 4px #9c9c9c;
}
Below you can find the result, when a list element it’s clicked, the corresponding block will look as active.
That’s all!
I hope you enjoyed this quick tutorial and I hope you found it useful! Now I’m looking forward to find out your opinion about this subject.
Have you used the :target pseudo-class on your projects? Or you indend to use it in your future projects? Let us know!